Elevation
The purpose of this widget is to give you the opportunity to configure the top results for a given search query regardless of the normal document scoring.
Which search handler you configure in this widget is defined by your selection in the Core selector-dropdown in the left menu, and the search handler selected as “Default Handler” in the admin section.
When you open the widget you will see an overview of which documents that are elevated in the selected search handler, if any.

Create Elevation
To elevate one or more documents to the top results of a search, you start by clicking the “+"-sign at the top right corner of the widget.
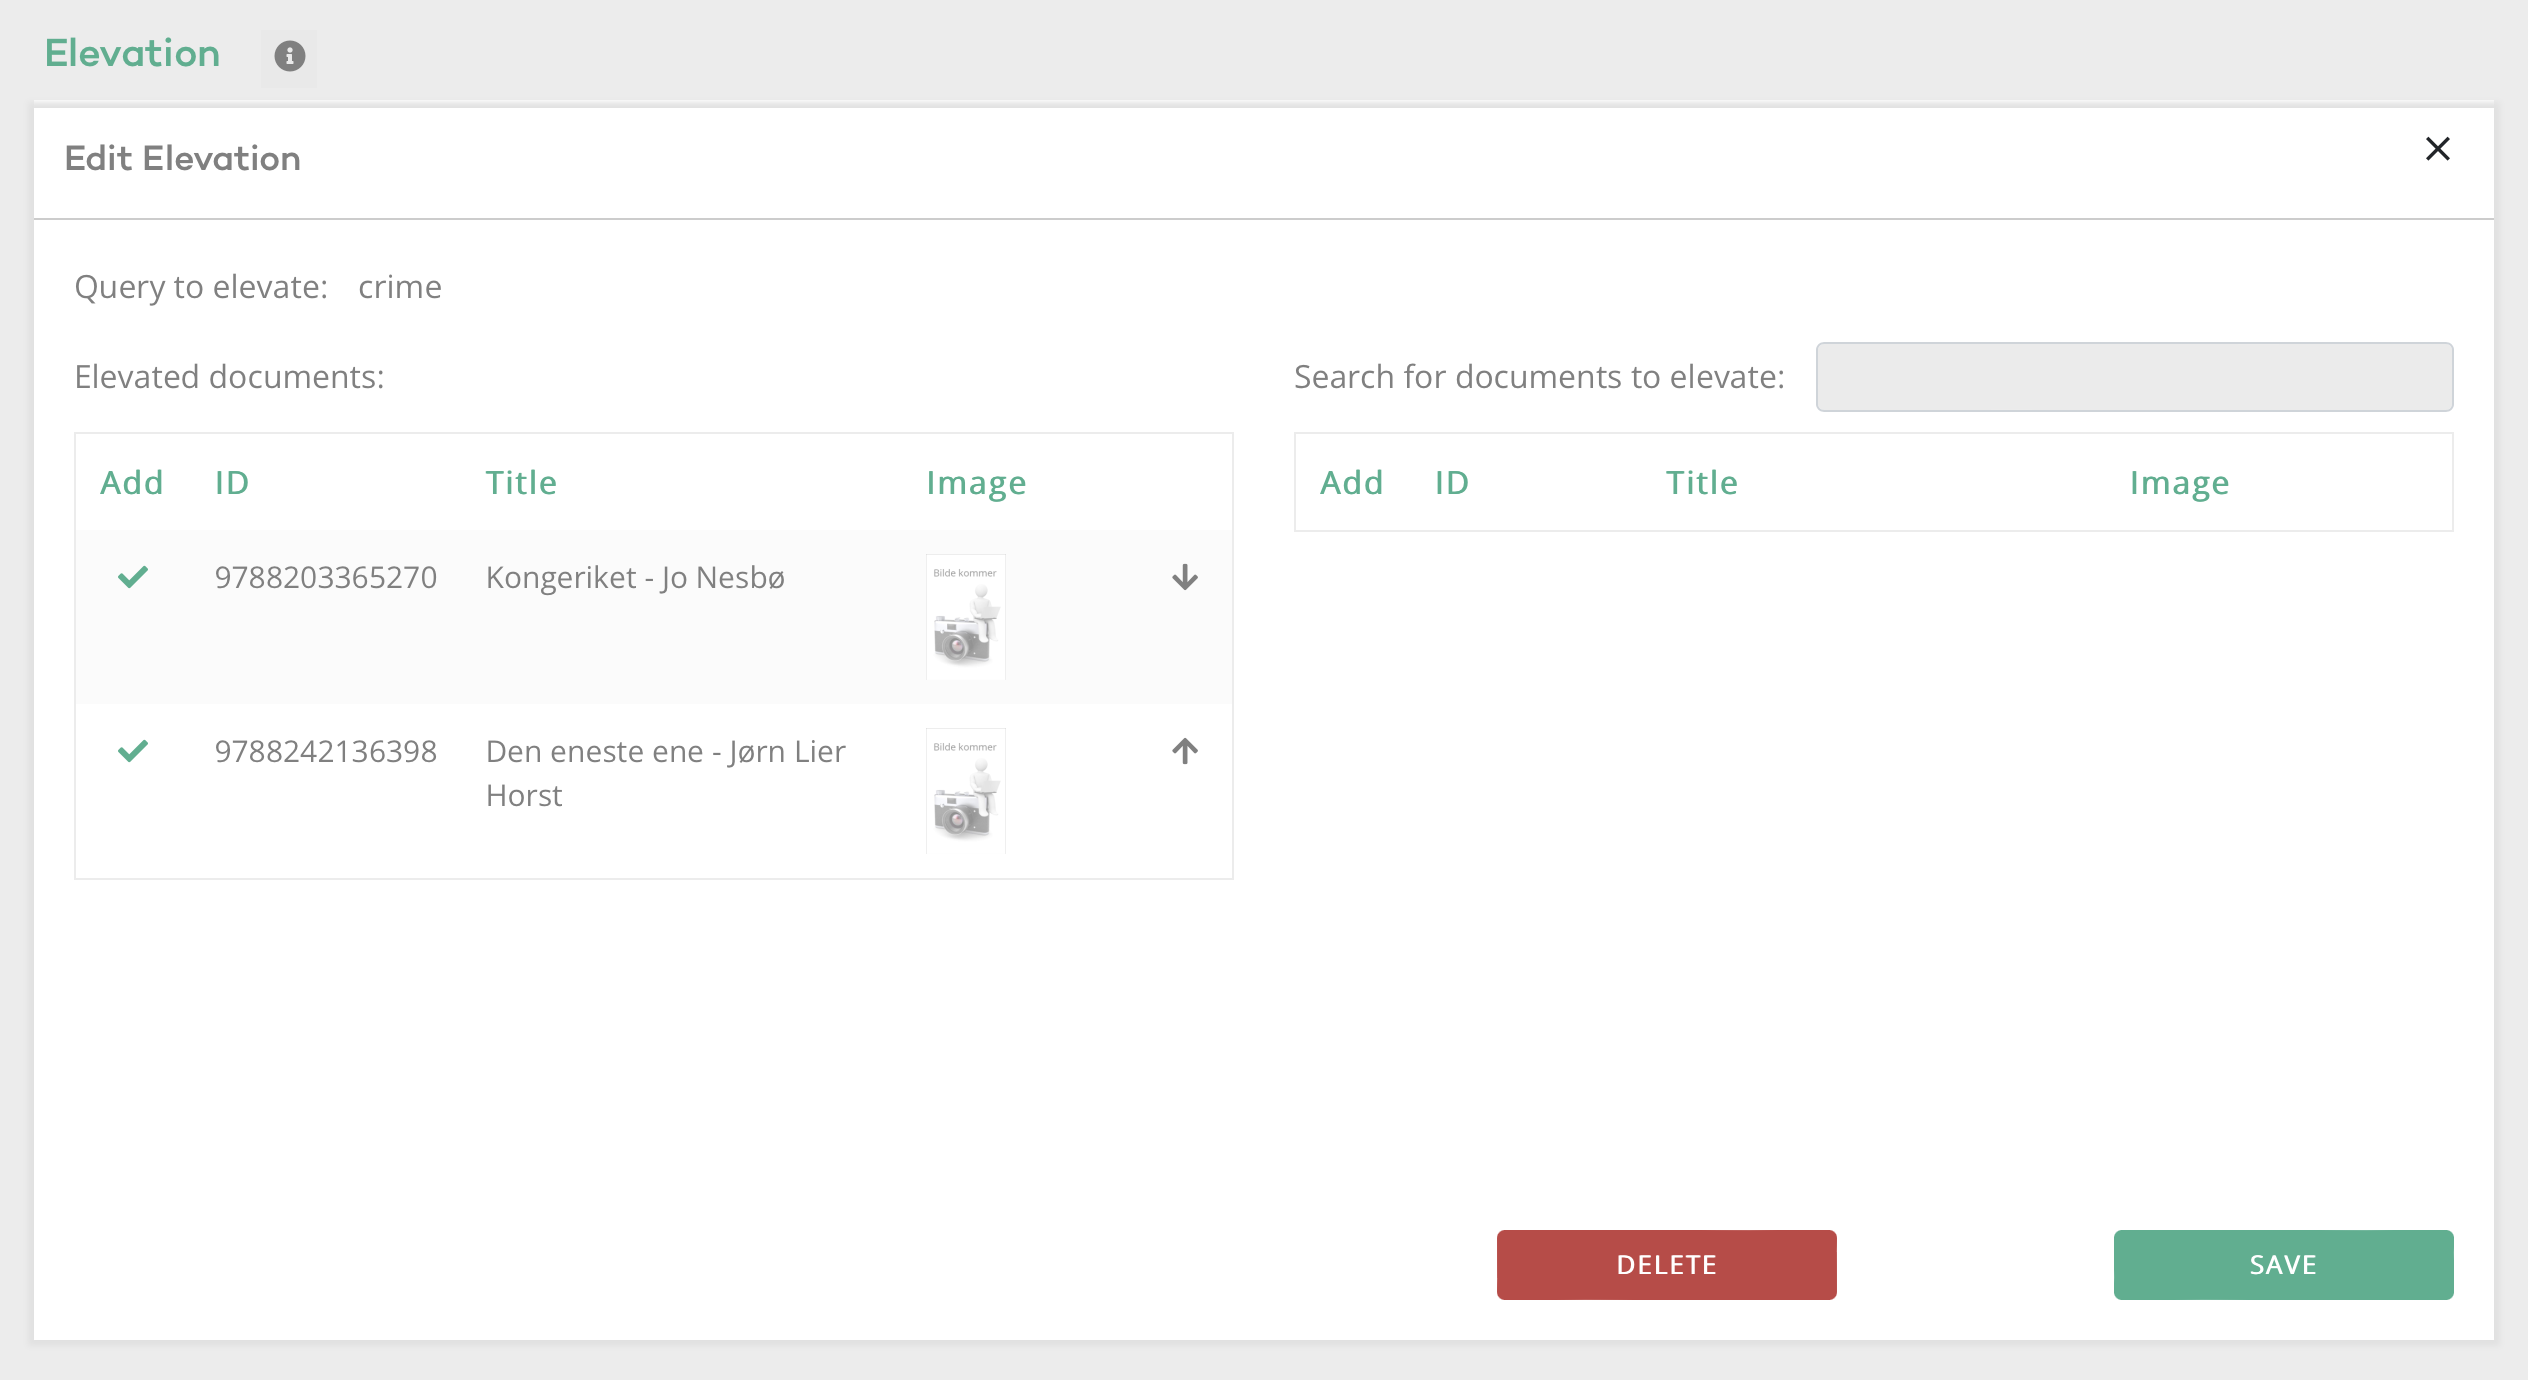
The “Create Elevation”-widget will now open. Here you can add the search query for which you want to configure the search results in the “Query to elevate”-field. To select the document(s) you want to force to the top of the search result list, just search for them by using the “Document Search”-field, and select the documents by clicking the “+"-sign. The documents you have selected to elevate should appear in the list of elevated documents to the left.

Click “Save” when you have added all the documents you want to elevate for the specified query. At this point your configuration is stored, but not active yet. In order to make it active, you must also click the “Publish”-button in the black ribbon that should have appeared at the bottom of the browser window. Please note that any time you perform a publish-action, your selected core gets restarted. This is necessary in order for the change to take effect. If you are going to perform many changes, you can wait to perform the “publish”-action for all of your changes at once.
Edit or delete Elevation
To edit an existing elevation, just click on the query-document-combination you want to edit in the elevation widget. You can do the following changes:
- You can add additional documents to be elevated for the specified query
- You can delete the elevation all together by clicking the “Delete”-button
- If you have elevated more than one document you can change the order of the elevated documents in the search result list by clicking the up-and-down-arrows

Advanced
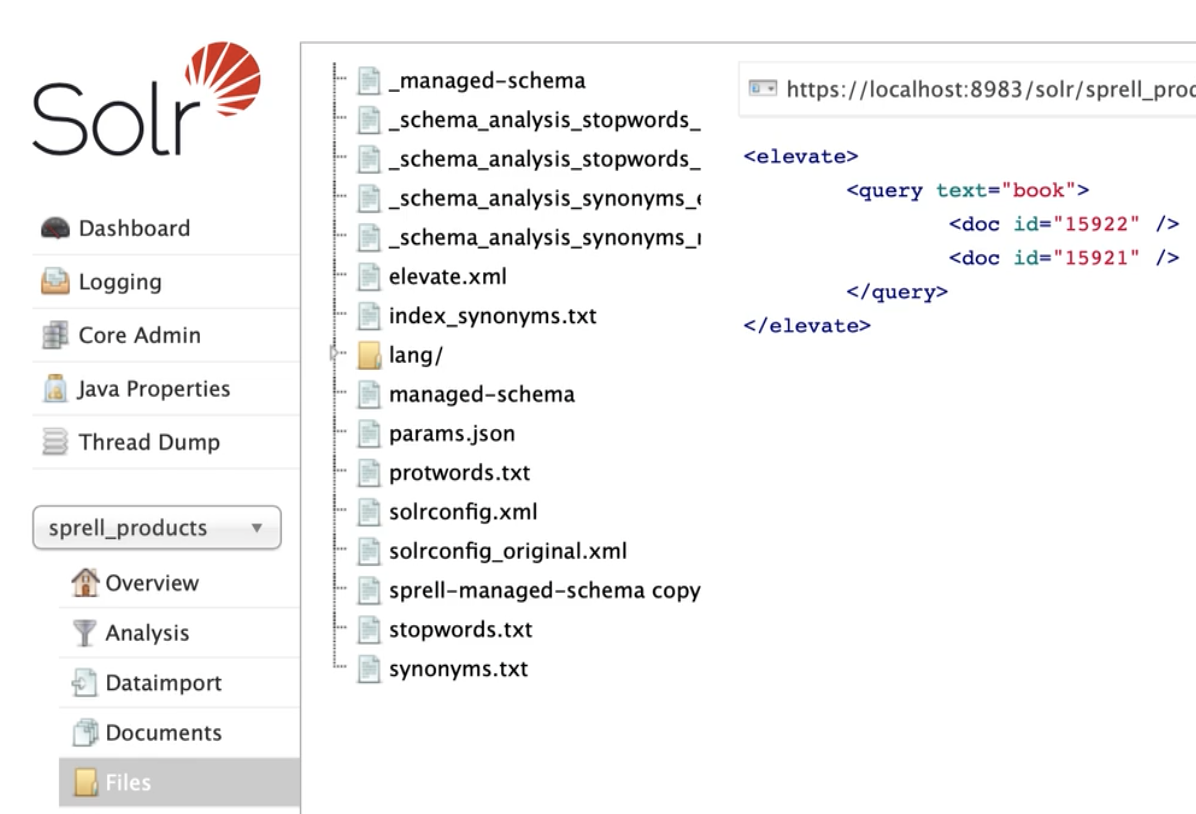
All the changes you make in this widget are in the background stored in the elevation.xml-file in your solr installation.
